
Well…less a whole hog and more a small pig. All the awesome in a smaller package!
(Before I get down to business, I’d just like to take a moment to apologize for my absence – I promise to make it up to you!)
So, onward with the pig!
As part of some cooking demos at a BBQ festival this last weekend, I cooked two whole hogs: one for “show” for the public to look at and aim their camera phones at all day, and the other to demo cook and serve. Through the magic of photography I documented all the steps, the better to improve this little corner of the internet.
Many websites recommend ordering your pig from a butcher, and having the butcher do most of this work for you. Honestly, with a small animal (at least up to 75 pounds) it seems best to do the cutting and breaking yourself. It isn’t that difficult, and will give you a bit more money for beer and bourbon.
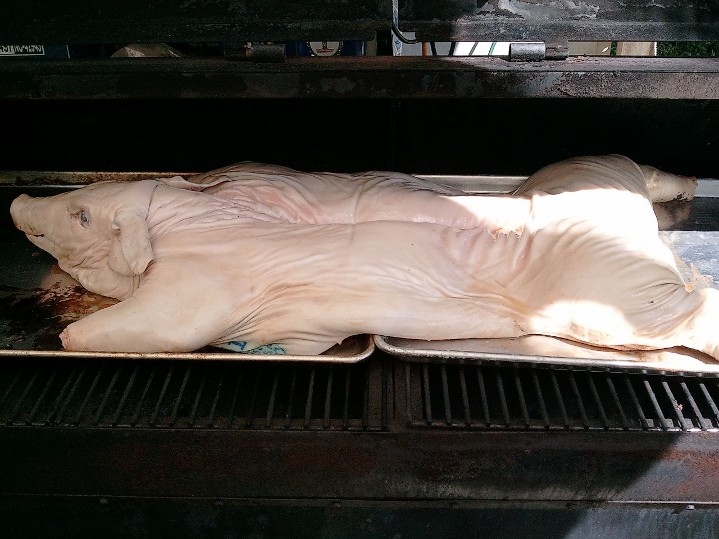
For reference, the pig splayed below for your enjoyment weighed in at about 35 pounds.
Tool List
- Good (I used Fiskars) pruning sheers. Needless to say, if you take these out of the gardening equipment, clean them well and don’t tell your wife!
- A sharp knife.
- A sharp cleaver. Some people recommend a sharp hatchet or ax, but with a longer working area I think you get better control with the cleaver.
- A rubber mallet (mine’s a five pounder).
- A sturdy table.
- Trash can
Optional
- 1/2 inch plywood covered with aluminum foil.
- Disposable cutting boards. (Yes, they’re a little pricey, but they’re awesome for food safety!)
- Clamps
Before You Begin
The first thing to do is to take a large piece of plywood (about 3′ x 5′) and cover it in aluminum foil. Next, clamp the plywood and a couple of the disposable cutting boards to your work table; you’ll be able to see this in a number of the photos. This gives you three things in one swoop: extra strength for the table; a clean and easy-to-clean work space; and an easy way to move the pig to the smoker once s/he is tuned up.
Also, remember to get your smoker up to temperature: (225 to 250) °F.
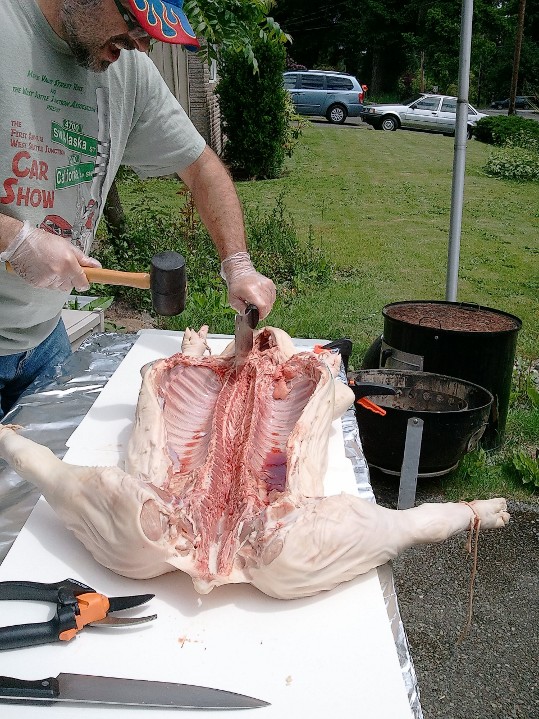
Snip and Slice

Splitting the Breast Bone
First thing to do is to use those shears to cut through the breast bone; on a bigger pig this may be something you’ll need to do with a small power saw. With the breast bone split, push the breast apart to snap the shoulder joints, further opening up the pig.
Now that the cavity is open use a knife to trim away the extra fat and skin and any little bits of innards that the butcher left behind.

Trimming Excess Skin
And it’s time for some fun!
Splitting the Spine
In order for the pig to lie flat, the spine needs to be split.
The first step is to cut through the cartilage – but not the back of the neck! – at the top of the spine.

Cutting Through the Cartilage at the Top of the Spine
With your cleaver and mallet, split the spine down the middle, taking care to not cut through the back of the pig.

Splitting the Spine

Continuing to Split the Spine

After the First Pass Split
Working “gently”, it may take two passes to get the spine split as much as you want.
Last Cut to Split the Spine
Some Final Trimming
By now your pig should be in a very inappropriate-looking position.

All Split Up
This is the time to do any final bits of trimming to make sure it’s all cleaned up inside.
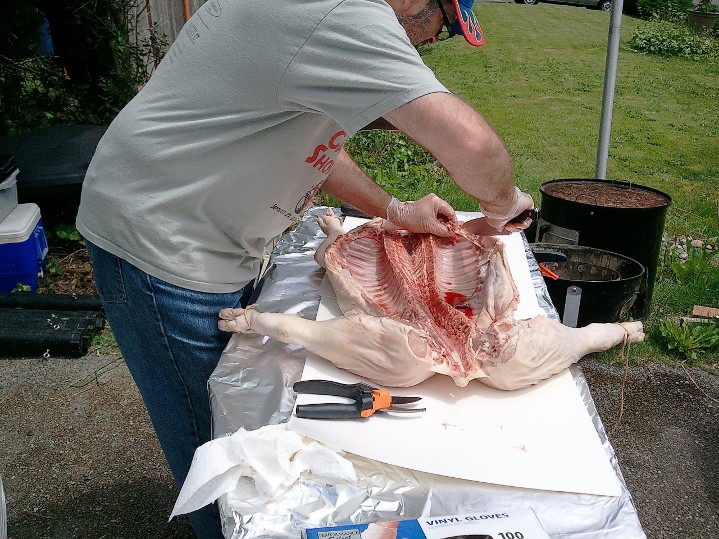
Final Trimming of the Insides
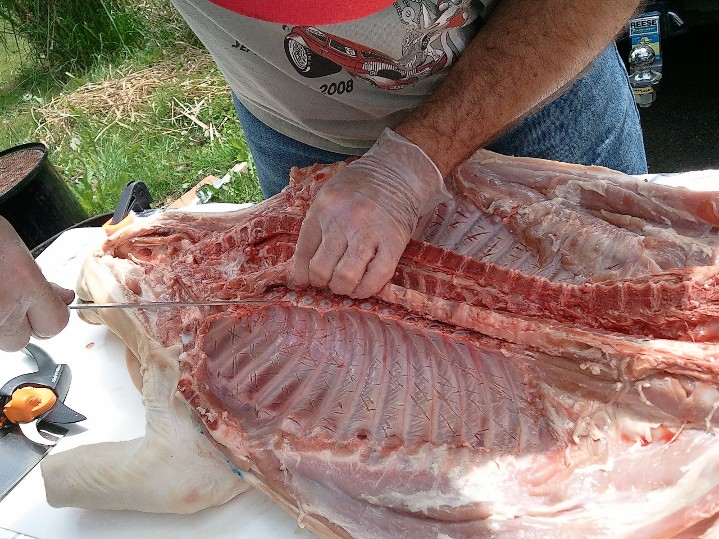
When you barbecue ribs, you pull off the membrane. This is just a wee bit more difficult with a whole hog, so scoring the rib membrane in a diamond pattern will work just as well. (When I’m making a big mess of ribs and don’t have the time to pull all those membranes, I’ll score them and can’t tell the difference.)
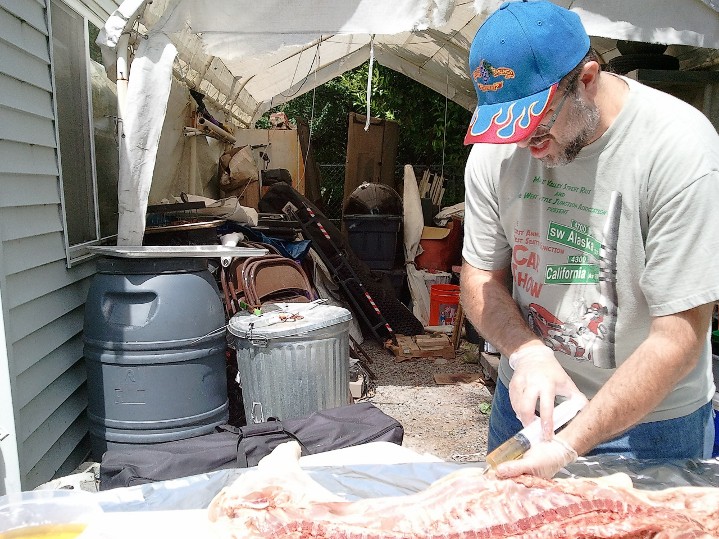
Once you’re done with the insides, use your hammer and cleaver to chop off the feet at the ankle joints.
Separating The Ribs
One last step with the sharp tools, and it will be time to inject. To make it easier to pull everything apart – especially the ribs – once the pig is cooked, separate the top of the ribs from the spine. This is definitely something that will take a sharp knife and patience. At the end of the process, it will totally be worth it.
With your knife, simply cut through the rib-spine joints down each side of the pig.

Starting to Separate the Ribs from the Spine
Ribs Separated from the Spine

All Prepped and Ready to Inject
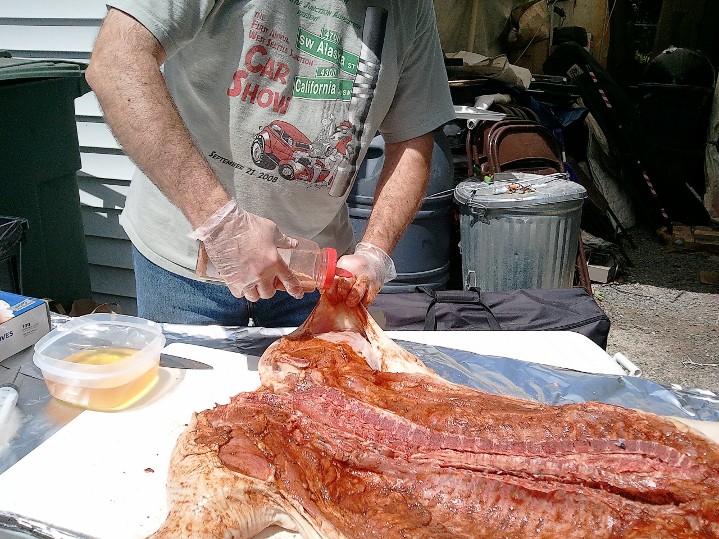
Inject Your Pig
You can inject your pig with just about any type of flavor you like. The simplest is apple juice, or apple juice flavored with your preferred BBQ rub.
You’ll want to inject in several locations both the hams and the shoulders, and as much of the belly and back meat as possible. You’ll know it is working when you see the meat puff up.

Injecting a Ham

Injecting the Shoulder
Injecting the Belly
Rubbing It Up
Last step before putting the pig in the smoker, is to season it up. Using your favorite pork rub (the one I used here is a combination of Johnny’s Seasoning Salt, Sugar, Cumin, and Allspice). There’s no need to be shy with the seasoning – put on a good coating and press it into the meat.

Seasoning the Pig

Pressing in the Rub
Along with rubbing all the meat in the cavity, you should also get some rub under the skin of the hams and shoulders. You’ll need to use your knife to separate the skin of the legs from the meat.

Pulling the Skin Away from the Ham
Seasoning Under the Ham Skin
Time to Cook
Get your pig into the smoker (by now it should be at the smoking temperature of (225 to 250) °F; remember to get some help with a bigger pig.
The Pig in the Smoker
If you want to rub the outside of the pig, this is a great time to do it. Rubbing the pig skin with vegetable oil will also help crisp up the skin.
Like all barbecue, cooking times will vary based on the size of the pig, control of the smoker temperature, and the environmental conditions. The cooked hog will stay hot resting in a hot box (ice chest) covered in some towels for two to three hours. Use this time as a buffer to make sure your pig is cooked in time for your feasting.
Approximate Cooking Times:
(30 to 40) pounds: (5 to 6) hours
75 pounds: (6 to 7) hours
100 pounds: (7 to 8) hours
125 pounds: (8 to 9) hoursTarget Temperature:
160 °F in the legs
As you approach the end of your cooking time, watch your meat temperature. Take your cooked pig off the smoker for it’s post-cook nap once the hams and shoulders hit 160 °F.
Taking the pig off the smoker is definitely a time for caution. Everything is hot, and there is a lot of grease. A couple of people with heat-proof gloves will make it safe and easy.

Cooked and Beautiful
Time To Eat!
Keep in mind that pulling apart a cooked pig is a messy proposition: there’s going to be a lot of grease and fat and skin. You’ll want to make sure you’re protected from hot splatters; if you care about the ground around you, protect that as well.
You can serve the parts of the pig however you like, but best is to pull all the meat, toss it with some of the juice. If they’re large enough, lift out and slice the ribs. In the case of a small pig like the one here, it works better to strip the meat off the bones and add it to the all the shredded goodness.
Give everyone a beverage and a plate, and have at it!
