2016 World Food Championships

This year marked the fifth year for the World Food Championships, the fourth time that Anthony and Christene competed at the event, and the first time they competed against each other in the same category.

A quick historical recap…The first year of the World Food Championships, 2012, Anthony and Christene competed together in the Burger category, finishing in 12th Place.  In 2013 Christene qualified for the Chili category and Anthony won an online contest for a paid entry into the Sandwich category.  Christene placed well with her Red Chili, while Anthony finished 9th, earning an automatic invitation to the 2014 event.  After another winning year of chili competitions, Christene again won her Golden Ticket to join Anthony at the 2014 WFC.  That year, Christene turned in an excellent Homestyle Chili, and Anthony improved his category standing with a 3rd Place Sandwich finish.  After three years of nearly a full week of cooking competition, the pair decided to take a break from the 2015 WFC.

Jump to 2016.  With no plans to attend WFC 2016, and just days before the registration deadline, Anthony and Christene both qualified for the Chili category the same weekend with individual wins at the Puget Pod CASI Chili Cook-off and the Washington State Tolbert Chili Championship.

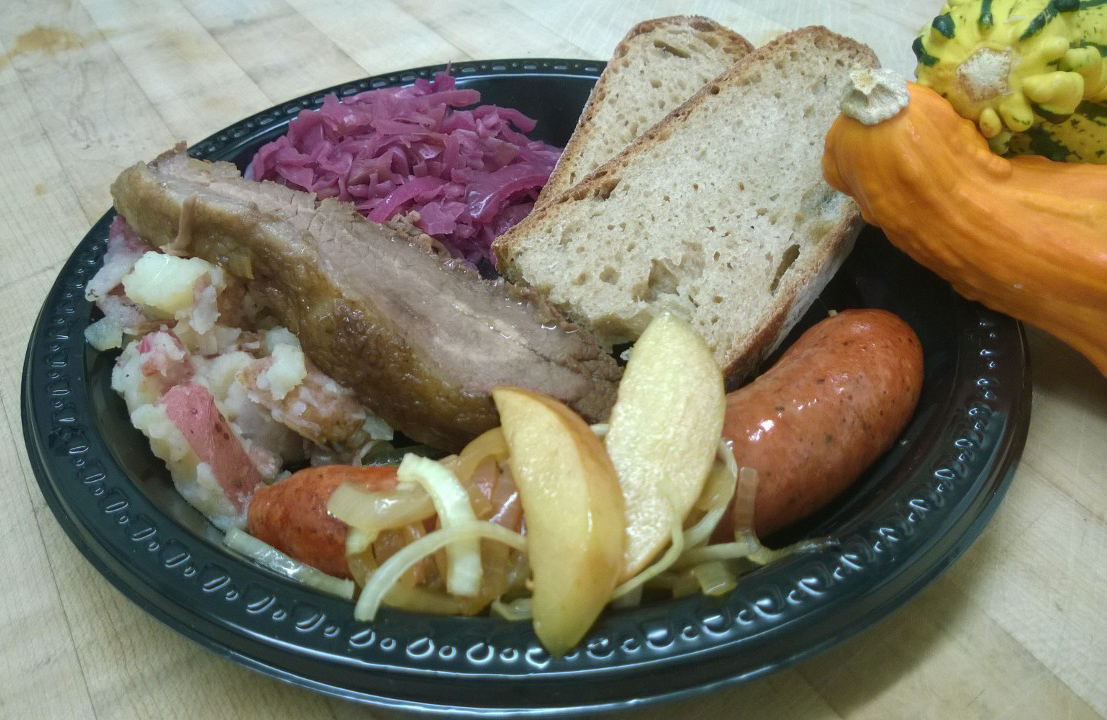
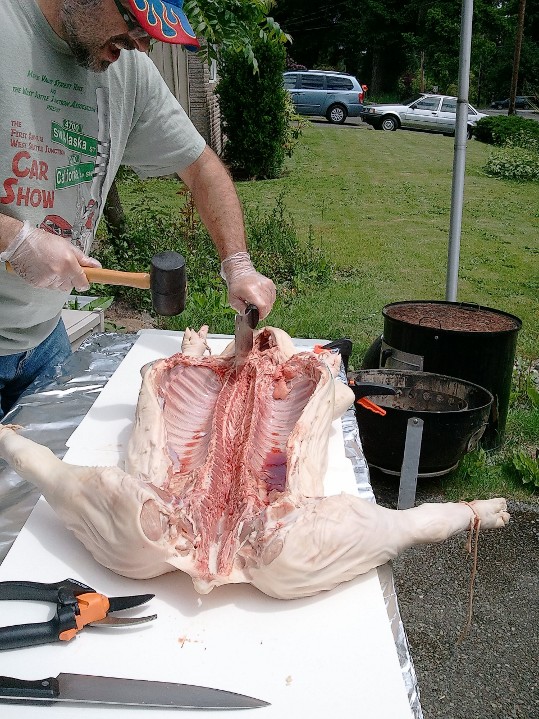
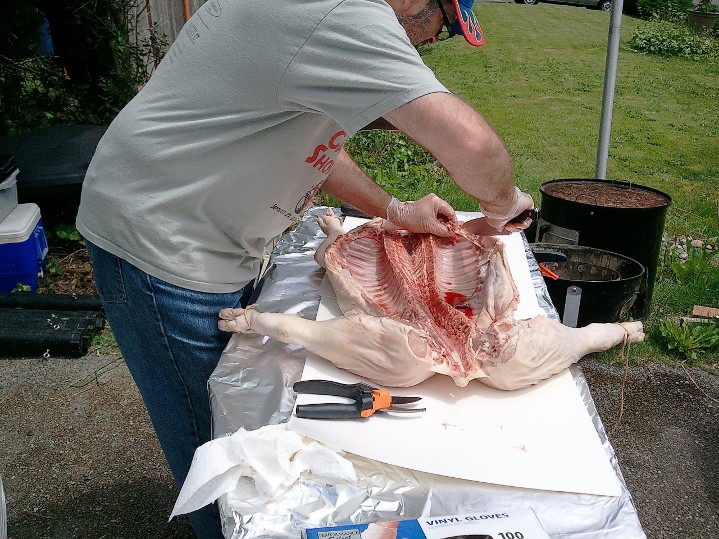
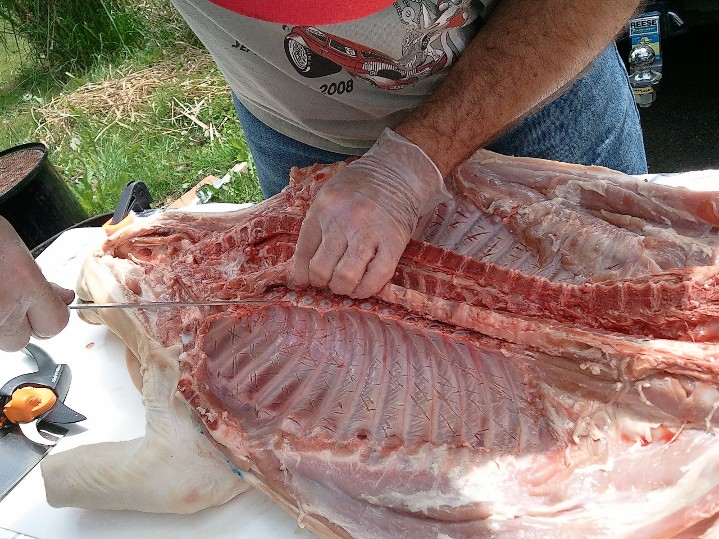
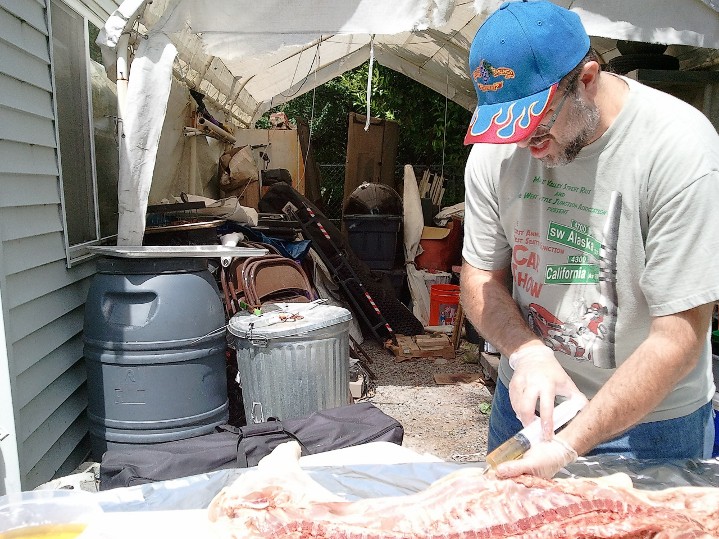
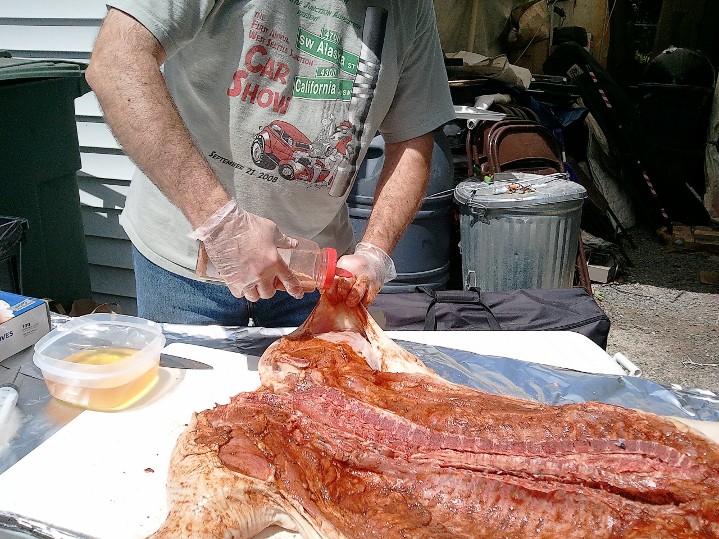
Each year, contestants in each category are required to cook a Signature dish – anything they want to cook that meets the category theme – and a Structured dish – a required dish defined by the WFC.  For 2016, the required chili White Chili, something neither Anthony nor Christene had previously cooked.  With only a few weeks to perfect and submit their recipes, research, tasting, and practice went into high gear.  Christene settled on chicken white chili and her well-received red with beans, while Anthony went with a spicier pork white chili and chili verde.

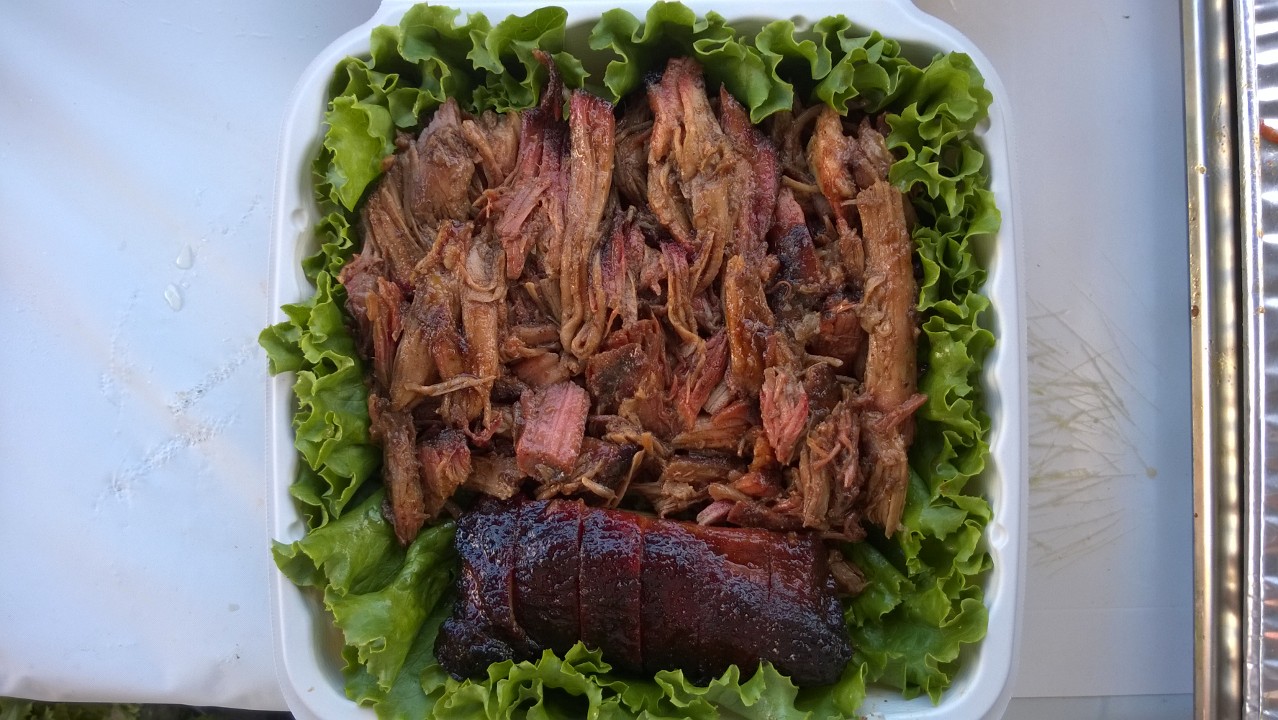
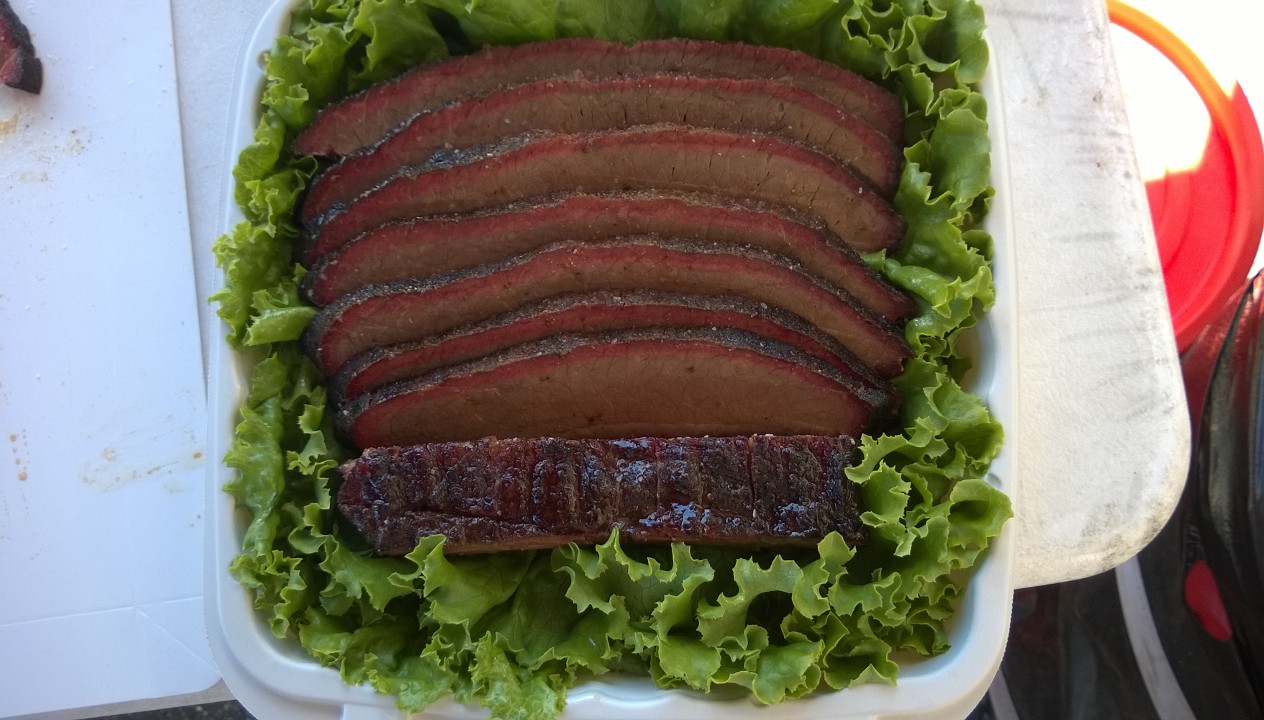
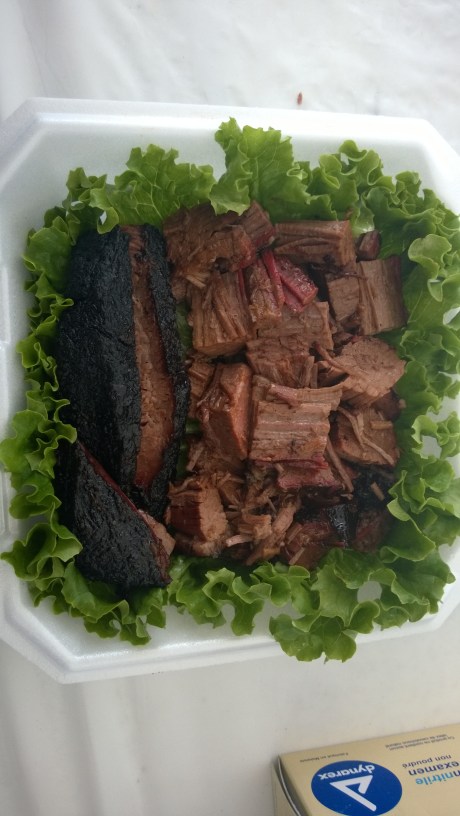
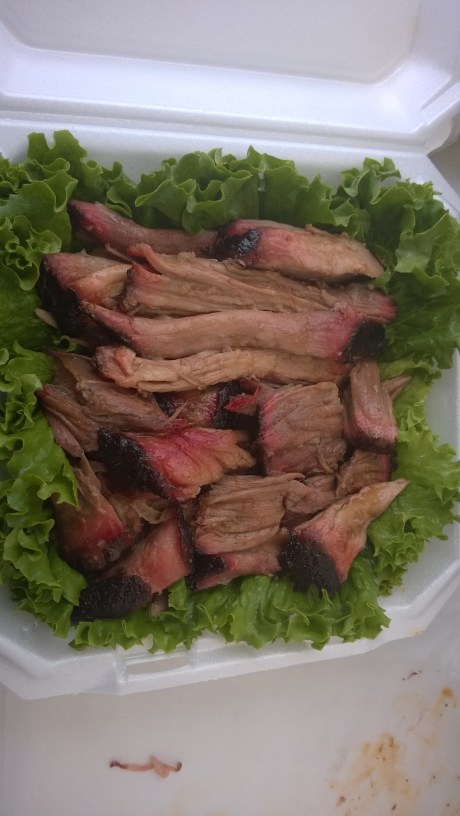
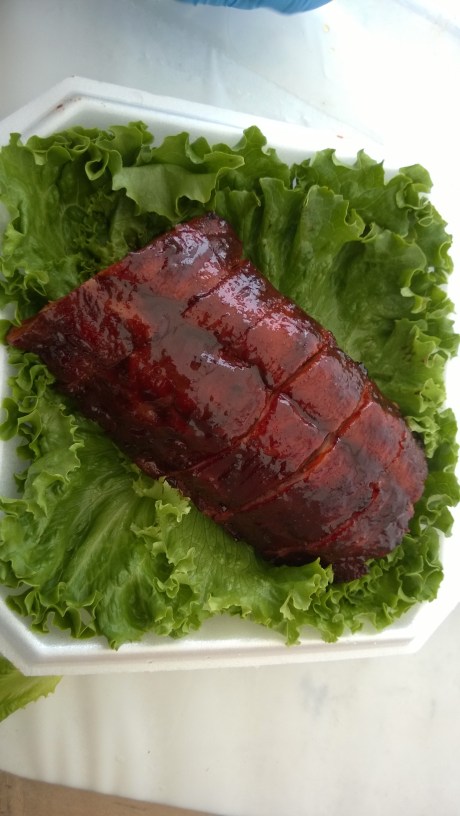
After nearly 8 hours of shopping, and scouring southeastern Alabama for their needed ingredients, Anthony and Christene and 28 other chili cooks – including two others from Western Washington – settled in for an intense four-hour first round.  Each cook was required to put together and submit a tray with 5 tasting samples and one appearance bowl for each chili.  The scores of the two entries are combined, with the top ten contestants going on to cook in the Top 10 round on the next day; the overall winner after the two days scores are combined cooks against the winners of the other nine food categories to determine the World Food Champion.  The first round’s results ended with Anthony in 8th place, and Christene in 5th for her first appearance in the Top 10.  Christene’s white chili was the highest scoring of the day, while Anthony’s tied for second a mere 0.75 points behind Christene’s.  With awards finishing late Saturday evening, the scramble was on to clean turn-in dishes, buy more ingredients, and finalize recipes to be ready to cook early Sunday afternoon.

For the Top 10 round, Christene decided to stick with her signature red chili, while Anthony cooked a tweaked version of his white chili.  For the Top 10, competitors were required to use one of several flavors of Goya Salsita hot sauce; Christene used their “Smoky Ancho” and Anthony a combination of “Smoky Ancho” and “Plenty Hot Jalapeño”.  Each 2-hour long Top 10 round featured 10 judges, requiring cooks to submit two trays with 10 tasting samples and one appearance sample – too much for one person to move from the cooking area to the judging area.  Fortunately two other Pacific Northwest competitors – who didn’t make it to their Top 10 Steak round – stepped up to assist Anthony and Christene.

At Sunday night’s Top 10 Awards, Anthony moved up three spaces to finish in 5th Place, and Christene jumped two to finish in 3rd Place.  Fellow Washington State chili cook Frank Volz went from 6th to 4th Place.  (In case you weren’t counting, against a field of chili cooks from all over North America, including the 2015 World Chili Champion, cooks from Washington State finished 3rd, 4th, and 5th!)  The overall Chili winner, Liz Kraatz, scored an impressive 93.6667 in the Top 10 round to leap from 7th to 1st Place; Liz ended up finishing the 2016 World Food Championship in 3rd place overall.

Their respective 3rd and 5th Place finishes have qualified Christene and Anthony for next year’s World Food Championships.  They will be taking lessons learned at the 2016 event and applying them to lots of practice to be ready for another shot at the title of World Chili Champion.

Advertisement

Getting into the ‘Que Groove!

Hey, don’t be looking at the amount of time between this and the last post – I’ve had things to see, people to do…

Great happenings on the Competition Barbecue front the last two outings.

In Wenatchee at the Eastern Washington BBQ Championship, we won First Place in CASI Chili, Third Place in Sausage, and our FIRST First Place in Brisket!  Christene didn’t believe me about the Brisket win – she was sure that we had taken a First previously.  She wasn’t convinced until we got home where she was scanning over all the trophies.

This was a nice change after having our worst showing ever at the Sam’s Club Tour event in Renton, Washington.

And now for some obligatory Food Porn:

1st Place Brisket

1st Place Brisket

2nd Place Sausage

2nd Place Sausage

Riding high after a decent showing in Wenatchee, we next headed up to Langley, British Columbia for the 27th Annual Canadian Festival of Chili and Barbecue.  The guys up there – Wayne, Dave, and Fred – always put on a great event, and we were excited to be able to cook it again after several years running the judging side of things.

This is a big, busy event that had nine categories over two days.  Saturday’s “Extra” categories were Hamburger, Chef’s Challenge (Chicken Wings), Homestyle Chili, CASI Chili, and Grill Grates Steak.  (OK, there were also two Kids-Q categories, but I’m a bit too old for those…)  One of the things I love about this event is that Saturday’s category results are announced Saturday, so you don’t spend all evening wondering just how well you did (or did not).

Our results for Saturday were pretty darn good.  Christene’s CASI Chili placed Third.  This broke her 8 Win Streak, but she was happy to lose her First Place spot to long, long time cook Judy Anderson.  Our Chicken Wings placed Ninth, and the Hamburger Sliders took Second.  I thought our steak was awesome (rubbed with Truffle Oil and finished with Truffle Salt), but even though it didn’t make the Top 10, I can honestly say that the Grill Grates on which we were required to cook were fraking awesome!

The sliders, of which I’m particularly proud, got perfect scores from 3 of the 6 judges, and great reviews from the folks in our tent.  This next bit is what was on them – you may want to skip ahead of you’re not interested.

I started with brioche slider buns from Macrina Bakery, and bacon burger meat (bacon ground into the ground beef) from our favorite meat market Double DD Meats.  On the toasted bun we had a Dijon mustard-brown mustard-honey-mayonnaise spread, spicy-sweet pickles, and micro greens, with the smoked burger topped with grilled ham and melted baby Swiss cheese.  Skewers to hold them together, a nice slate tray and a sprinkle of greens to make it pretty, and off to the judges.

If you made it through the description, you really deserve the next round of Food Porn!

2nd Place Burger

2nd Place Burger

9th Place Wings

9th Place Wings

After all that cooking, cleaning everything up, and resetting for Sunday, it was time to inject and season the big meats.  Just wish that there had been time for a nap…

Everything on Sunday’s turn-ins went really smoothly.  I think we’ve got a good handle on our timing for the big meats and two cookers.  Our pork and brisket we were quite happy with, our chicken and ribs…only sorta.  Shows what I know!

When the results came out, we had a Sixth Place in Pork, Fifth Place in Brisket, Fifth Place in Chicken, and Second Place in Ribs.  This is the first event in quite a long time where we were able to place in the Top Six in all four Main Categories.  As always, Christene did a phenomenal job of boxing up our turn-ins.

6th Place Pork

6th Place Pork

5th Place Brisket

5th Place Brisket

5th Place Chicken

5th Place Chicken

2nd Place Ribs

2nd Place Ribs

There was a 10 to 15 minute break between Chicken results and Rib results, as the PNWBA presented plaques to the initial inductees of the Hall of Fame.  While listening to the speeches, I kept thinking “Gotta walk in ribs, gotta walk in ribs.”  We walked in ribs.

With several different teams placing well, I knew it would be close, but I figured we had to be at least in the Top Three.  We were close – we pulled out Reserve Grand Champion (second overall).

All-in-all, the weather was perfect, the event was fun, and we’ll definitely be back next year!

We’re About More Than Just Barbecue!

Barbecue – it’s in our name and it’s in our blood, but it’s not all that we do.

Over the last few months new adventures in catering and competition have led us to recipes and meals above and beyond the barbecue horizon.  I’m going to take this opportunity to catch up a bit!

First Up, Dutch Oven Orange and Bourbon Pecan “Pies”

Orange Bourbon Pecan "Pies" in Orange Halves

Orange Bourbon Pecan “Pies” in Orange Halves

OK, so they’re not really pies in the classic sense.  Using this recipe as a start, oranges were cut in half and the orange flesh removed, leaving a peel cup.  I wish I could tell you this was neat and easy, but it isn’t.  With care, a sharp paring knife and a spoon, you can remove the flesh, but patience is required.  To make sure the “pies” would not tip over, the bottom was trimmed flat.  (Learn from experience:  Make sure to not cut into your orange cup, or you’ll find your filling juice oozing away.)

A 14 inch Dutch Oven was heated up to 350°F, and lined with foil to catch drippings.  The filled cups were placed in the oven and cooked for about 20 minutes, until the filling set.

For the turn-in, the cups were served on the Dutch Oven lid surrounded by edible flowers (Dutch Oven rules prohibit the use of inedible decorations).  This dessert took second place at the competition.

Next, Banh Mi Inspired Sliders

Banh-Mi-Inspired Sliders

Banh Mi-Inspired Sliders

These sliders – featured in the best food photo I have ever taken – were practice for a burger competition.  The hamburger (from my favorite butcher Double DD Meats) was basted in a mirin-honey-soy glaze as it cooked over charcoal.  The toasted potato slider roll from Macrina Bakery was topped with a mayonnaise-honey-sriracha spread, cilantro, and cucumber, and the burger was finished with the classic pickled daikon and carrot.

At the actual competition the burger ended up finishing in Fourth Place.  I expect it would have done better, but I screwed up and bought Macrina olive rolls instead of the potato rolls; the burgers were still really good, but the olive rolls weren’t quite as pretty, and didn’t work quite as well with the Banh Mi flavors.

For a Change, Let’s Talk Oktoberfest Catering

Traditional Oktoberfest Dinner

Traditional Oktoberfest Dinner

Us Raven’s Fyre folks have done plenty of catering, but a traditional Oktoberfest dinner was definitely a first!  We wanted to dazzle, and make sure everyone had plenty to eat and plenty to love.

For the sides, we went with two German classics: Blaukraut (red cabbage brined in red wine) and warm German potato salad.  Of course, it wouldn’t be Oktoberfest without sausage!  As a twist on a classic, we braised smoked German sausages in Pyramid Oktoberfest Autumn Lager with onions and apples.  We decided to round out the meal with what turned out to be the most popular and praised dish, Sauerbraten.  For those not in the know, sauerbraten is beef (or pork or other meats) marinated in a vinegar mixture for several days, and then braised.  Normally a cut of beef such as bottom round is used, but staying true to our barbecue roots we decided to use briskets instead.  Happily, this resulted in what I feel is a much more flavorful dish.

In Closing…

If you made it this far, thank you!  I have other food goodies to cover, but will cut this short before you all get too bored.

See you soon!

Brisket…anyone got a bun?

Got our brisket in. Really loved the taste, but it was so overdone it was nearly impossible to get a good slice.

Chopped brisket it is!

And then there was one…

Here’s your pork!

And the ribs are in…

Two down, two to go!

They look nice, rub and sauce were good, but not thrilled with the flavor if the meat.

Chicken in in Renton!

First time cooking on the new Weber 18.5 in Smokey Joe.

Pretty happy how the chicken came out. Need a little more practice time on the cooker to get that skin crisped.

The flavor, though, was spot on.

All-in in Chehalis!

Since we haven’t been able to compete as much as we were hoping this season (bathroom remodel and work getting in the way…), we’re going all)in this weekend.

Christene’s cooking Tolbert (Texas red) and home style chili on Saturday, while I’m doing a full Dutch Oven cook. We’re then doing a full competition BBQ cook.

A long weekend this will be. But I’m really happy with the dishes I have planned for the DO cook.

Hog Wild About Whole Hog!

Well…less a whole hog and more a small pig.  All the awesome in a smaller package!

(Before I get down to business, I’d just like to take a moment to apologize for my absence – I promise to make it up to you!)

So, onward with the pig!

As part of some cooking demos at a BBQ festival this last weekend, I cooked two whole hogs: one for “show” for the public to look at and aim their camera phones at all day, and the other to demo cook and serve.  Through the magic of photography I documented all the steps, the better to improve this little corner of the internet.

Many websites recommend ordering your pig from a butcher, and having the butcher do most of this work for you.  Honestly, with a small animal (at least up to 75 pounds) it seems best to do the cutting and breaking yourself.  It isn’t that difficult, and will give you a bit more money for beer and bourbon.

For reference, the pig splayed below for your enjoyment weighed in at about 35 pounds.

Tool List

  • Good (I used Fiskars) pruning sheers.  Needless to say, if you take these out of the gardening equipment, clean them well and don’t tell your wife!
  • A sharp knife.
  • A sharp cleaver.  Some people recommend a sharp hatchet or ax, but with a longer working area I think you get better control with the cleaver.
  • A rubber mallet (mine’s a five pounder).
  • A sturdy table.
  • Trash can

Optional

  • 1/2 inch plywood covered with aluminum foil.
  • Disposable cutting boards.  (Yes, they’re a little pricey, but they’re awesome for food safety!)
  • Clamps

Before You Begin

The first thing to do is to take a large piece of plywood (about 3′ x 5′) and cover it in aluminum foil.  Next, clamp the plywood and a couple of the disposable cutting boards to your work table; you’ll be able to see this in a number of the photos.  This gives you three things in one swoop: extra strength for the table; a clean and easy-to-clean work space; and an easy way to move the pig to the smoker once s/he is tuned up.

Also, remember to get your smoker up to temperature:  (225 to 250) °F.

Snip and Slice

Splitting the Breast Bone

Splitting the Breast Bone

First thing to do is to use those shears to cut through the breast bone; on a bigger pig this may be something you’ll need to do with a small power saw.  With the breast bone split, push the breast apart to snap the shoulder joints, further opening up the pig.

Now that the cavity is open use a knife to trim away the extra fat and skin and any little bits of innards that the butcher left behind.

Trimming Excess Skin

Trimming Excess Skin

And it’s time for some fun!

Splitting the Spine

In order for the pig to lie flat, the spine needs to be split.

The first step is to cut through the cartilage – but not the back of the neck! – at the top of the spine.

Cutting Through the Cartilage at the Top of the Spine

Cutting Through the Cartilage at the Top of the Spine

With your cleaver and mallet, split the spine down the middle, taking care to not cut through the back of the pig.

Splitting the Spine

Splitting the Spine

Continuing to Split the Spine

Continuing to Split the Spine

After the First Pass Split

After the First Pass Split

Working “gently”, it may take two passes to get the spine split as much as you want.

Last Cut to Split the Spine

Last Cut to Split the Spine

Some Final Trimming

By now your pig should be in a very inappropriate-looking position.

All Split Up

All Split Up

This is the time to do any final bits of trimming to make sure it’s all cleaned up inside.

Final Trimming of the Insides

Final Trimming of the Insides

When you barbecue ribs, you pull off the membrane.  This is just a wee bit more difficult with a whole hog, so scoring the rib membrane in a diamond pattern will work just as well.  (When I’m making a big mess of ribs and don’t have the time to pull all those membranes, I’ll score them and can’t tell the difference.)

Once you’re done with the insides, use your hammer and cleaver to chop off the feet at the ankle joints.

Separating The Ribs

One last step with the sharp tools, and it will be time to inject.  To make it easier to pull everything apart – especially the ribs – once the pig is cooked, separate the top of the ribs from the spine.  This is definitely something that will take a sharp knife and patience.  At the end of the process, it will totally be worth it.

With your knife, simply cut through the rib-spine joints down each side of the pig.

Starting to Separate the Ribs from the Spine

Starting to Separate the Ribs from the Spine

Ribs Separated from the Spine

Ribs Separated from the Spine

All Prepped and Ready to Inject

All Prepped and Ready to Inject

Inject Your Pig

You can inject your pig with just about any type of flavor you like.  The simplest is apple juice, or apple juice flavored with your preferred BBQ rub.

You’ll want to inject in several locations both the hams and the shoulders, and as much of the belly and back meat as possible.  You’ll know it is working when you see the meat puff up.

Injecting a Ham

Injecting a Ham

Injecting the Shoulder

Injecting the Shoulder

Injecting the Belly

Injecting the Belly

Rubbing It Up

Last step before putting the pig in the smoker, is to season it up.  Using your favorite pork rub (the one I used here is a combination of Johnny’s Seasoning Salt, Sugar, Cumin, and Allspice). There’s no need to be shy with the seasoning – put on a good coating and press it into the meat.

Seasoning the Pig

Seasoning the Pig

Pressing in the Rub

Pressing in the Rub

Along with rubbing all the meat in the cavity, you should also get some rub under the skin of the hams and shoulders.  You’ll need to use your knife to separate the skin of the legs from the meat.

Pulling the Skin Away from the Ham

Pulling the Skin Away from the Ham

Seasoning Under the Ham Skin

Seasoning Under the Ham Skin

Time to Cook

Get your pig into the smoker (by now it should be at the smoking temperature of (225 to 250) °F; remember to get some help with a bigger pig.

The Pig in the Smoker

The Pig in the Smoker

If you want to rub the outside of the pig, this is a great time to do it.  Rubbing the pig skin with vegetable oil will also help crisp up the skin.

Like all barbecue, cooking times will vary based on the size of the pig, control of the smoker temperature, and the environmental conditions.  The cooked hog will stay hot resting in a hot box (ice chest) covered in some towels for two to three hours.  Use this time as a buffer to make sure your pig is cooked in time for your feasting.

Approximate Cooking Times:

(30 to 40) pounds:  (5 to 6) hours
75 pounds:  (6 to 7) hours
100 pounds:  (7 to 8) hours
125 pounds:  (8 to 9) hours

Target Temperature:

160 °F in the legs

As you approach the end of your cooking time, watch your meat temperature.  Take your cooked pig off the smoker for it’s post-cook nap once the hams and shoulders hit 160 °F.

Taking the pig off the smoker is definitely a time for caution.  Everything is hot, and there is a lot of grease.  A couple of people with heat-proof gloves will make it safe and easy.

Cooked and Beautiful

Cooked and Beautiful

Time To Eat!

Keep in mind that pulling apart a cooked pig is a messy proposition:  there’s going to be a lot of grease and fat and skin.  You’ll want to make sure you’re protected from hot splatters; if you care about the ground around you, protect that as well.

You can serve the parts of the pig however you like, but best is to pull all the meat, toss it with some of the juice.  If they’re large enough, lift out and slice the ribs.   In the case of a small pig like the one here, it works better to strip the meat off the bones and add it to the all the shredded goodness.

Give everyone a beverage and a plate, and have at it!

Let’s Talk About Ham, Baby!

Not just any ham, but home-cured and smoked ham.

So, in November, 2011 (yes, that was 1.5 years ago, but bear with me…) I popped into my local grocery store to find they had a few pork legs sitting in the meat department, for a really good price.  This isn’t a normal occurrence; in fact, it hasn’t happened since.  Not one to pass up an opportunity to try something new with the smoker, I picked up a couple of them and threw them into the freezer for future use.

I pulled the first one out for Christmas 2011, and headed off to the internet for some ideas.  I found and used this recipe from The Dizzy Pig Barbecue Company as a guide.  I brined the leg for about 4 days, smoked it up, and finished it in the oven.  It wasn’t bad.  In fact, it was pretty good.  But there were errors made – not injecting and not brining long enough.  After cutting into the ham, what I found was that I had a pork leg that was ham half through, and roast pork the rest of the way to the bone.  Unfortunately I didn’t get a photo, because it was pretty cool looking (but obviously not what I was after).

Fast Forward to Christmas 2012.  I decided to give it another go, and to get it right.

I poked some more around the nets, and again settled on the folks at The Dizzy Pig for my guide.  And this time I took notes and photos, to pass on to you.

Remember: Wisdom is learning from others’ experience!

A major divergence I took from the Dizzy Pig folks is that I left on the rind and fat.  I love their suggestion of removing and rendering the fat to make your own lard.  And, of course, the rind can be turned into chicharones.  But I and my family love the skin after it has been brine and baked, so there you go.  One of the joys of cooking is to do what makes you and those around you happy.

Note:  I used a 10.7 pound ham for this recipe.

Step 1:  Defrost the Pork Leg
Well, that’s pretty self-explanatory.  I moved it from the freezer to the fridge about a week before brine time.

Step 2:  Make the Brine

In a large, non-reactive (stainless steel or glass, not aluminum) pot combine:

1/8 Cup White Pepper
1/4 Cup Whole Cloves
1/2 Cup Granulated Onion1/2 Cup Granulated Garlic
3 Cups Tender Quick
3 Cups Brown Sugar
16 oz Maple Syrup
240 oz (30 Cups) Cold Water

Heat and stir until the ingredients are dissolved.
Cool the brine to 40 degrees F.  This is critical – you don’t want to put your cold pork into a hot brine!

Image

Brine Temperature

Step 3:  Brine the Ham

One the brine is cooled, inject 1.5 to 2 cups deep in the meat and around the bone.  (The Dizzy Pig folks recommend a cup per every 4 to 5 pounds.)

Use the remainder of the brine to cure your ham.

Place the ham in a container that fits in an ice chest or your refrigerator.  I’m lucky enough that my barbecue fridge can hold a 5 gallon bucket.

Image

Ham in the Bucket

I also was fortunate enough that the pork leg wedged perfectly in the bottom of the bucket.  Once the brine was added, the leg didn’t float.  If yours does, make sure to use a large plate with a weight or something similar to weigh it down under the brine.

Non-Required Step:  Make Sure You Have a Good Assistant

Image

Montana Trying (Hoping?) To Help

Step 4: Brine the Pork

With an 11 pound ham, I left it in the brine for about 4 1/2 days.  Between the injection and the brine time, that was plenty to turn this pork leg into a ham.

It isn’t completely obvious in the next photo, but after the brining, the meat had definitely taken on a pinkish hue.

Brined Ham

Brined Ham

Step 5: Rinse the Ham

At this point if you were to cook and eat the ham, you would need to chase it with a lot of water (or beer…) – it would be extremely salty!

Side Note:  If you order a cured Tennessee ham, they also need to be soaked – usually for several days – before cooking.

I emptied the brine out of the bucket, replaced the ham, filled it with water, and let it have a nice soak (in the refrigerator!) for about two hours.  A quick switch of the water and a second bath, and the ham was ready for the smoker.

Step 6: Smoke the Ham

Since Christmas dinner was at my in-laws’ house, the entire cook wouldn’t happen on the smoker.  In this case, the plan was to smoke the ham and then fully cook it in the oven.

The ham was smoked with hickory (you can’t beat a classic!) at about 200°F for three hours.  It’s important to remember that much more than that will be too much smoke for most any meat.

Here you can see the difference in color from the smoke – starting to look like the real thing!

Smoked Ham

Smoked Ham

With the smoking completed, I bundled up the ham in a small ice chest, and headed off for Christmas Eve dinner.

Step 6: Cook the Ham

About some things, I can be a bit of a traditionalist.  Prior to cooking, I used a sharp knife to score the skin in the classic diamond pattern.  Next time through, I’ll likely do this step before smoking; the smoking process did make the skin a bit tougher than when strictly “raw”.

After scoring, I cooked them ham at 350°F until it reached 160°F inside – about 2.5 hours cooking time.  Here she is cooked…and with a few skin tester pieces missing…sometimes temptation can be impossible to resist.

Cooked Ham

Cooked Ham

Step 7: Carve and Eat and Enjoy!

I’m hoping you can figure this part out for yourself.  And don’t forget to save that lovely bone for next week’s soup!